When it comes to survival in the backcountry during an emergency, there are four elements we need to maintain in order to keep ourselves safe. These survival elements include fire, water, food, and shelter. Without meeting these needs, our chances of surviving decrease dramatically.
When hiking in the backcountry we usually carry water, food, and some type of fire starter. Shelters, on the other hand, are usually not needed on a day hike. But what happens when your hike takes a turn for the worst, and you are forced to spend one, if not multiple nights in the backcountry. Now after reading this maybe building a shelter from available materials will now seem like a more viable option for you.
A shelter should be a barrier between you and the environment. It should also help insulate you, as well as providing you a sense of security. Building a survival shelter is a relatively easy process, but it does take time. How long depends on how good your shelter will be and how good it will protect you against the elements.
Step 1: Find a Location
When deciding to build a shelter, it is important to evaluate the area you are in to see what resources are immediately available to you. Try to choose an area that is naturally protected from the elements, and not to close to a waterway as Bears and other animals use waterways as natural corridors. Be sure to check for any potential hazards ie fallen rock, high rivers, bear tracks/scat, prior to building your shelter.
Fill in the wooden frame with materials, such as dried leaves, pine branches, dry grass etc. This will help further prevent any heat lost through ground transfer, which is where most body heat is lost.
Now on top of the logs you placed down for a bed, gather and lay down spruce bows, about 2 feet to 3 feet thick to act as a mattress and prevent heat loss even further. Because the spruce bows are prickly and could be annoying, it is a good idea to lay some birch bark or fur bows on top so you will be able to enjoy whatever bit of sleep you can manage to get.
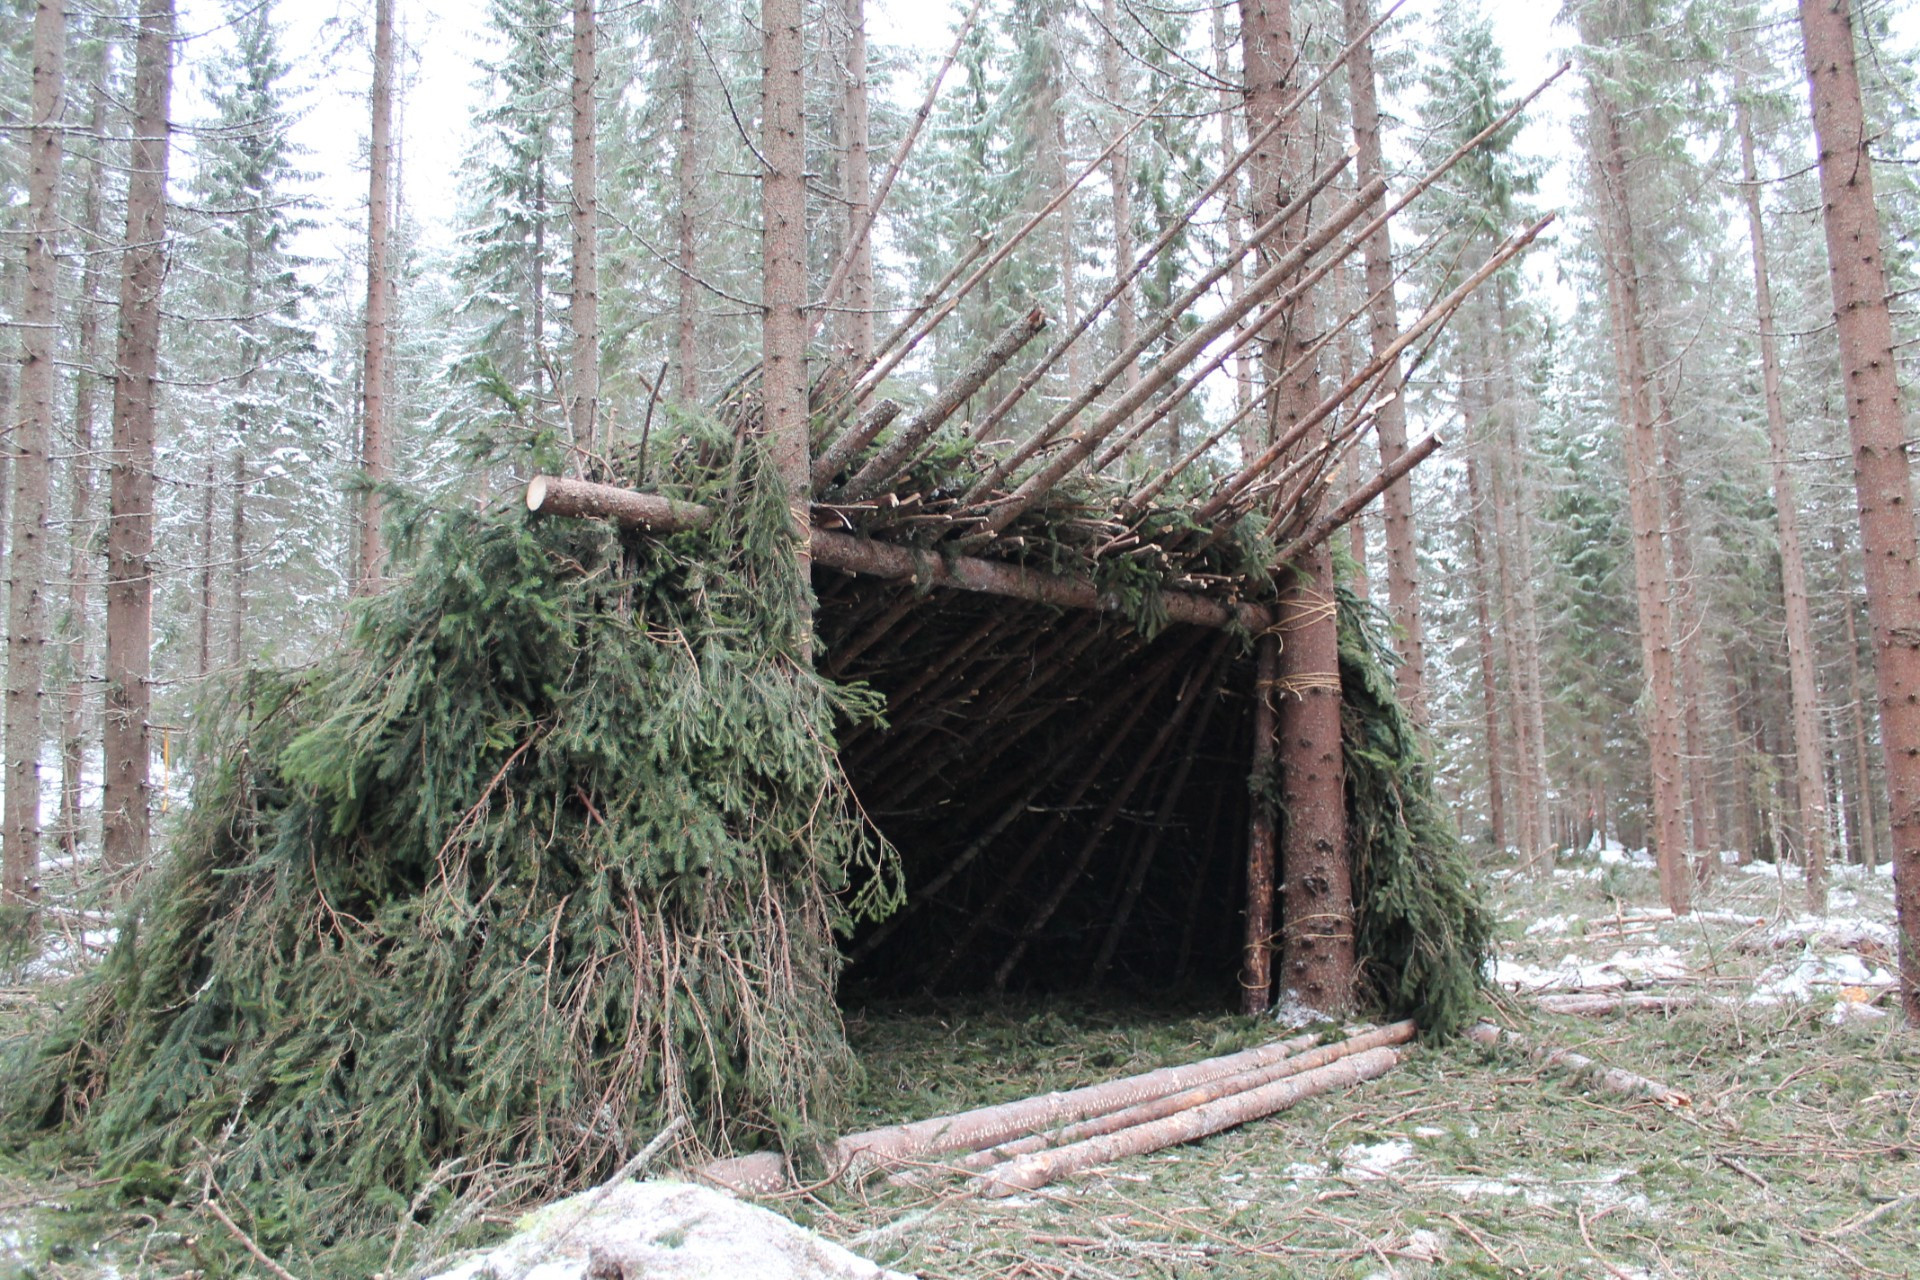
Step 3: Construct Your Shelter
*NOTE*
• Constructing shelters require time, if late in the day, or if a storm is closing in a basic lean-to is probably your best option, if more time permits or you have a companion with you then an A Frame Shelter is probably your best and safest bet, depending on your surroundings of course.
To construct an A Frame Shelter, you need to adjust sticks on each side of the shelter so they meet at the top creating an upside-down V. Continue to construct the frame, placing the sticks from front to back. You can also lean sticks up against a fallen tree or rock depending on your surroundings. Remember to keep a good angle on your shelter so when you apply bows etc. the rain/snow wont pool up and cause a potential leak.
Now that your logs are placed in such a manor that you believe they will help to protect you from the elements, you need to insulate your shelter. Starting from the bottom going to the top – place spruce bows with the butt end to the top so they drape down over the previous bows, this helps them to block out the rain which they do surprisingly well.
• Make sure to go inside and look for any holes as you go, and cover them up, also make sure to periodically check to make sure you fit inside and any gear you have with you as well as some firewood potentially.
Step 2: Raise yourself up off the ground
You need to build your bed but unlike the one you sleep in at home, this one needs to protect you from the elements ie. water from pouring rain causing you to get soaked wake up with a cold or even worse – pneumonia. So, in addition to protecting you from the elements, it also needs to be long enough for you and wide enough so that you can sleep as comfortably as is to be expected in the middle of the wilderness.
I recommend laying down logs prior to constructing your mattress/bed. By laying down logs first, this will raise you above the elements in case of frost or flooding (allows water to go under without soaking your insulation), better to be safe than sorry.
With the ideas mentioned above and depending on time, you can have a basically leak free shelter that is warm. I personally have had small fires inside of them. You need to be careful as your shelter is basically a gigantic tinder pile that will catch fire in an instant. Be aware if you have a fire inside your shelter and plan ahead if choosing to do so, and make a way for some of the smoke to escape.
*NOTE* Because your shelter is constructed with sticks, bows, bark and logs you get the unwanted effect of it being camouflaged, remember at dusk, dawn or from a distance, rescuers wont probably notice your structure. Try to leave something bright outside around your area that can be seen from a distance and remember to constantly add to your shelter each day so it can continue to protect you from the elements.
Step 4: Insulation
Now that you have your bed covered by a shelter with bows on it, it is time to really insulate it, so it keeps you warm. This is the most time-consuming part of building a shelter but also the most important part. You need to gather and place leaves, moss (dry) and bows over your entire shelter. The thicker the warmer you will be. One thing I learned from watching Les Stroud which works extremely well is to place bark like shingles starting from the bottom and going to the top overlapping the bark below it. Old tree bark works best for this, and any size can be used. This works extremely well in keeping rain off you.
One thing to remember when building a shelter, is that it is a temporary shelter designed to keep you alive rather than comfortable. Natural debris shelters made of debris from the forest are typically damp and cool when inside them, they may even leak a bit but being uncomfortable and alive is better than the alternative.