Fire Setup can be broken into steps. See below or click on corresponding topic to skip ahead
When out in the backcountry and you become lost, or a camping with friends one of the first things you need to do is build a fire (check fire bans for the area you are going to as well as make sure that fires are permitted in your chosen area). Building a fire is can be very easy with the right setup.
Remember to always set your fire at least 6 feet away from your tent or shelter as well as low hanging tree bushes.
For starters you need to gather what you need. Find some small, dry items you can make tinder
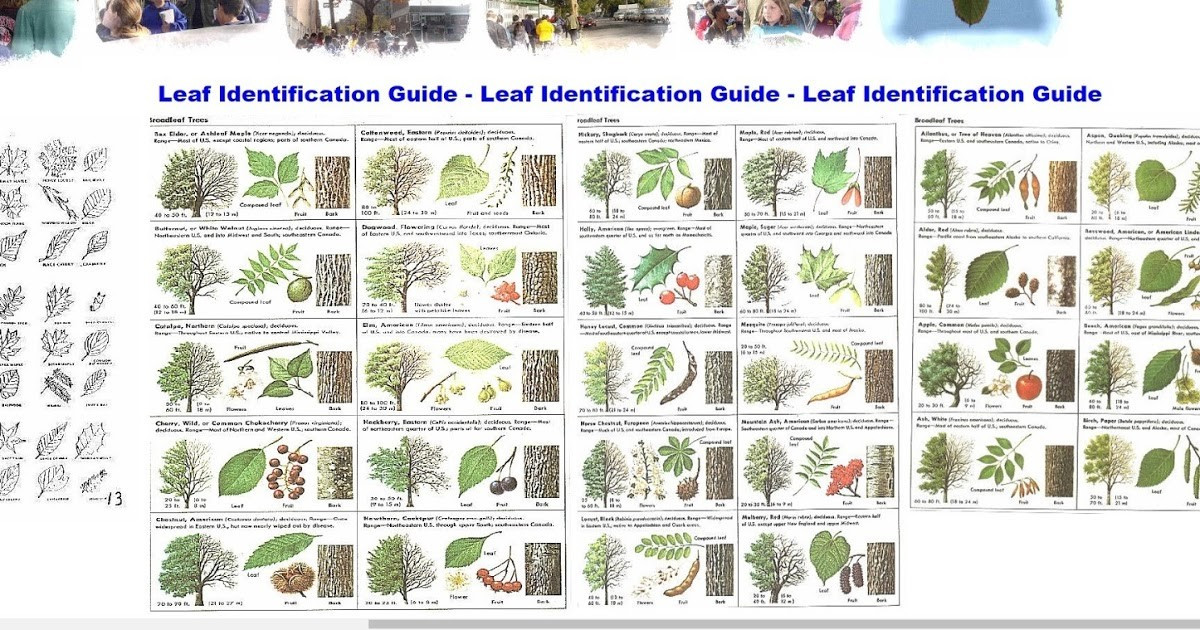
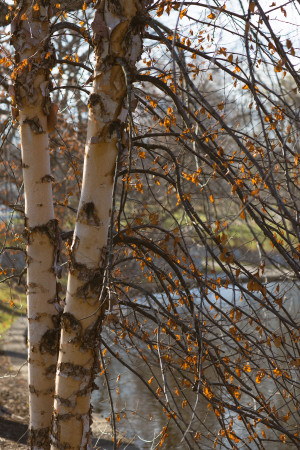
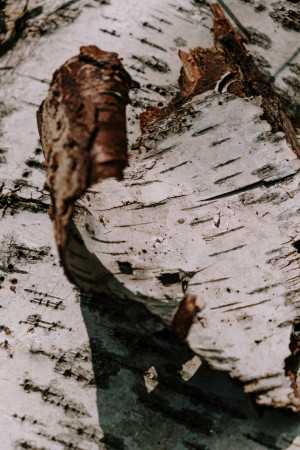
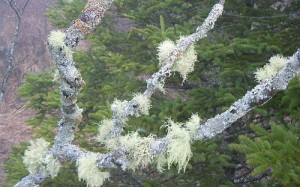
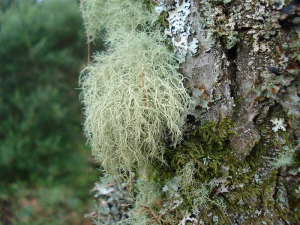
such as twigs, leaves, branches and shredded bark. Birch bark and Old Mans beard are ideal to use for tinder. Stores such as Canadian Tire sell Firestarter which helps you start a fire by lighting it with a match or a lighter.

While tinder is the smallest of the three materials you need to start a fire, kindling is slightly larger. It refers to any ignitable material that's larger than tinder but smaller than firewood. Tinder is small, loose material that burns fast and easily, whereas kindling is small sticks that burns more slowly.
Next find some dry, medium sized pieces of wood to serve as kindling (to get the fire burning good before adding bigger pieces of wood) You can look around your area for small sticks, branches and large chunks of bark, just make sure whatever you decide to use, is dry.
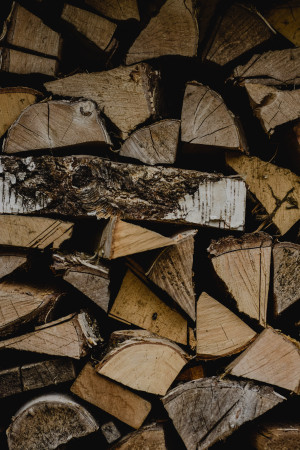
Now comes the most time-consuming part depending on how long you want your fire to burn for. You now need firewood. A combination of softwood (pine, cedar, fir) and hardwood (black spruce, aspen poplar, birch and white spruce). Softwood trees burn fast and will produce a cracking and popping noise while burning due to resins within the wood. Hardwood trees take longer to start burning and should be added once your softwood has been burning for a bit and you are sure your fire won’t go out. Although they take longer to start, they do burn a lot longer thus producing more heat from your fire.
First find a generally flat surface, once you know where you want your fire to be, you need to find something to contain your fire from spreading out. Rocks are the best for this, now decide how big you want your firepit to be and lays the rocks in a circular position, try to fill any gaps between the rocks with smaller ones.
There are multiple ways to setup a fire, everything from a crisscross pattern which I mention below to my favorite the teepee pattern.
We will start with a cross type structure to keep things easy. Place the tinder you gathered prior in the center of your circle. Now grab your kindling and put it on top in a crisscross type of pattern leaving room for you to light the tinder and so that the kindling doesn’t smother your fire. Once you have this burning you can proceed with the softwood in the same way as you did the kindling, the add the hardwood once the fire is going well.
The teepee structure (my personal favorite)
Bunch your tinder material into a ball, then take pieces of kindling And stack them together in a teepee-like shape (wider at the base in a circular format coming toward the center at the top ) around your previously balled up group of tinder. Make sure to leave a spot open as an access so you can light the tinder, and so you don’t smother the fire. Repeat the process with soft wood. You can also do what I find works well which is to build a cross structure first for your tinder and kindling, with a teepee structure of kindling and softwood mixed over top of the cross structure. This is very helpful if it is windy or there is now on the ground.
Keep in mind when lighting your fire, use smaller sticks at first to get it going followed by bigger sticks as the fire proceeds to catch and burn.
Well by now hopefully, you have a rough idea on how to build the structure for your fire and what materials are needed to get your fire going and keep it going. Next comes the easy part if you are properly prepared with a lighter and/or waterproof wooden match. Without these two items, this part might become a little trickier for you. Don’t worry though I will try to explain this as best I can. If you happen to have Firestarter be it the little blocks that you break off or the paste that comes in a tube, now would be a great time to go and get that. Ok, if you had the blocks from Canadian Tires, light on with a lighter as I find a lighter works easier for them and place it so that the fire can reach the tinder ball and catch onto the kindling. If using the paste, grab a piece of kindling from earlier and coat the end of it with the paste, light it and use that to light your tinder ball.
What happens if we don’t have matches or a lighter? Well hopefully in your first aid kit, or a pocket on your coat or backpack or possibly have a knife like mine which has one built into the sheath is a flint and the steel used to create the spark (this method can be a little tricky at first, I suggest trying this somewhere so you feel comfortable in doing it in the field). If you do not currently have one you can pick one up at your local Canadian Tire store (check with the other camping supplies in sporting goods) or at your local hiking supply store (MEC, Atmosphere etc.)
For this method hold the flint close to the tinder pile you created earlier. Strick the steel against the flint sending sparks towards the tinder until it starts smoking and begins to ignite. This can be frustrating depending on weather conditions but will work in a pinch if you are stuck. Just make sure to practice somewhere safe before heading into the backcountry.